Cree su propio teletipo de noticias Bluetooth
Colocado en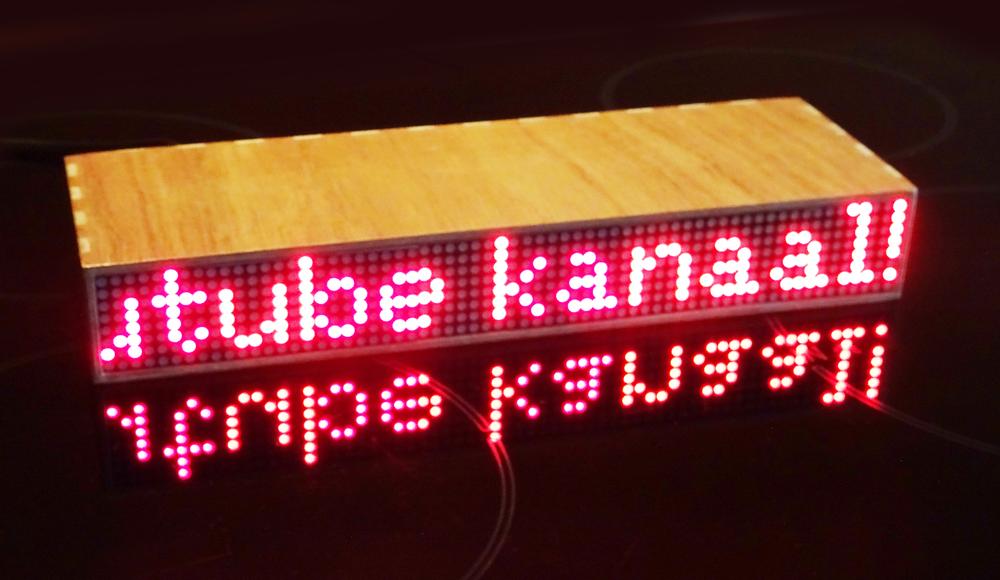 Ejemplo de teletipo de noticias
 Suministros
Opencircuit Arduino Uno R3 - clon Entregado en 14 a 30 días O un Arduino Nano € 11,25 Opencircuit Módulo de matriz de puntos MAX7219 4x En stock Esta es la pantalla, necesitas al menos 1, ¡2 es aún mejor! € 10,20 Opencircuit Módulo Bluetooth HC-06 con adaptador - clon En stock Este es el esclavo Bluetooth HC-06, necesitas 1 € 8,50 Opencircuit Resistencia de película metálica de 5,6 KΩ 1/4 W - 100 piezas Entregado en 14 a 30 días El divisor de voltaje para el módulo Bluetooth. € 1,30 Opencircuit Resistencia de película metálica 10KΩ 1/4W - 10 piezas En stock El divisor de voltaje para el módulo Bluetooth. € 1,75 Ya no está disponible Para energía adicional, USB no puede suministrar suficiente Opencircuit Toma CC incorporada 5,5 mm x 2,1 mm - 5 piezas En stock € 2,50 Total € 35,50El horario:
El esquema muestra cómo todo debe estar conectado. Si ya siente que todos esos cables dan vueltas, no mire demasiado el conjunto, pero intente considerar y conectar los módulos uno por uno. Verás que no está nada mal.El esquema muestra solo un módulo LED de matriz de puntos cuádruple, en realidad, ¡puede unir dos para obtener un ancho doble!
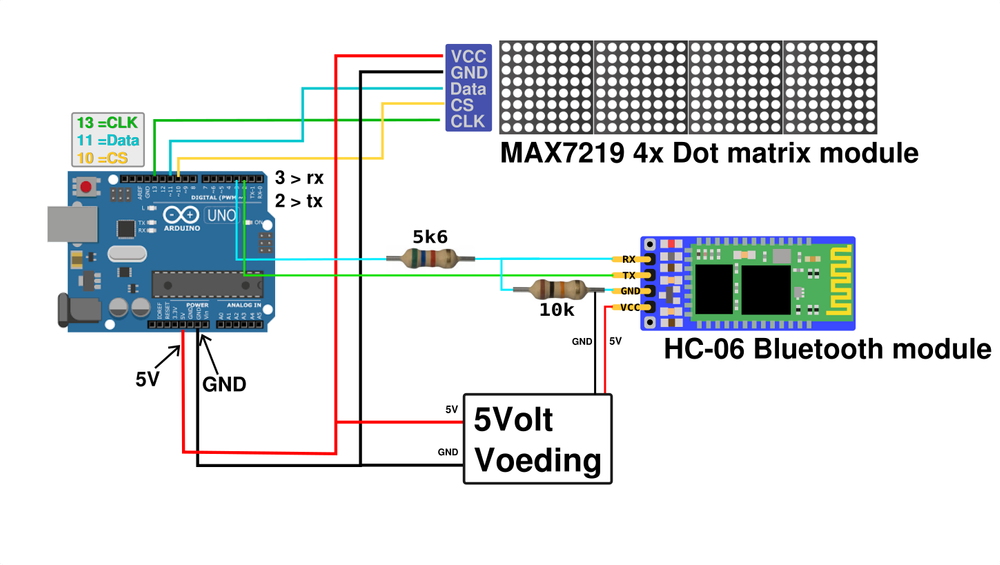 Diagrama de conexión del tablero de mensajes
 El módulo bluetooth requiere un poco de atención adicional. Las señales de comunicación Bluetooth (TX y RX) funcionan a 3,3 voltios, mientras que el Arduino funciona a 5 voltios. Las dos resistencias reducirán los 5 voltios de Arduino a unos 3,3 voltios.
La nutrición:
Puede ver que se utiliza una fuente de alimentación de 5 voltios. Tienes que. Un Arduino conectado a USB no puede suministrar suficiente corriente para alimentar la matriz LED, especialmente con una doble matriz.
La nutrición:
Puede ver que se utiliza una fuente de alimentación de 5 voltios. Tienes que. Un Arduino conectado a USB no puede suministrar suficiente corriente para alimentar la matriz LED, especialmente con una doble matriz.
Biblioteca Arduino y Sketch:
El boceto Arduino utiliza dos bibliotecas externas, para instalarlas, busque MD_MAX72xx en el administrador de bibliotecas. Luego instale MD_Max72xx y MD_Parola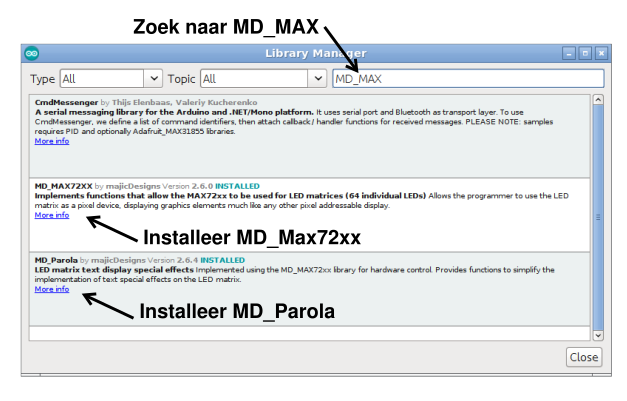 Ticker Biblioteca Arduino USB
 Configure el módulo correcto:
Después de instalar las bibliotecas, debemos decirle a la biblioteca MD_Max72xx qué módulo de matriz LED estamos usando.
Localice el archivo en su disco duro: MD_MAX72xx.h
(probablemente en la carpeta C:\Usuarios\tu nombre\Documentos\ Arduino \bibliotecas\MD_MAX72XX\src\)
Después de instalar las bibliotecas, debemos decirle a la biblioteca MD_Max72xx qué módulo de matriz LED estamos usando.
Localice el archivo en su disco duro: MD_MAX72xx.h
(probablemente en la carpeta C:\Usuarios\tu nombre\Documentos\ Arduino \bibliotecas\MD_MAX72XX\src\)
El boceto Arduino :
Entonces ahora podemos cargar el boceto.Copie el boceto y pegue el código en el software Arduino , seleccione el puerto com correcto, escriba Arduino y presione cargar.
Si todo está bien (¿y por qué no?), ahora verá el mensaje "Hola, envíe un nuevo mensaje por bluetooth". ¡Así que ya es hora de instalar la aplicación de Android en su teléfono y enviar un nuevo mensaje a través de Bluetooth!
La aplicación de Android:
Para cambiar el texto en el teletipo de noticias, necesitamos un programa de terminal Bluetooth, por ejemplo, el Terminal Bluetooth Serial de Kai Morich, a través del Tienda de aplicaciones.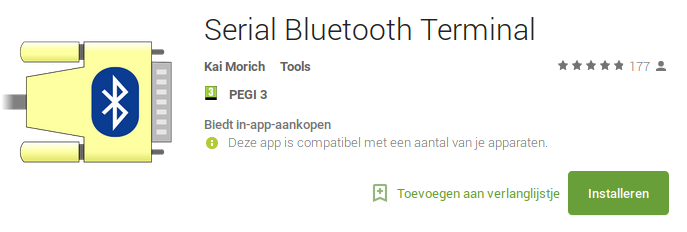 SerialBluetoothTerminal
 El funcionamiento de la App es bastante autoexplicativo, pero en el vídeo lo muestro paso a paso.
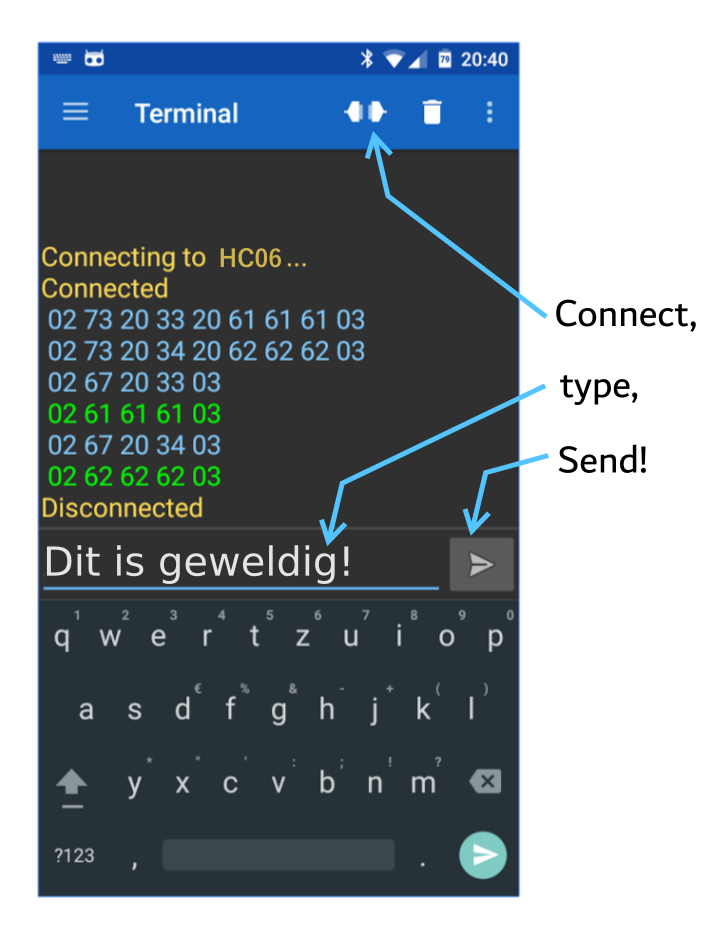 terminal bluetooth
 Atención: el iOS de Apple no se puede conectar al módulo bluetooth usado, por lo que solo funciona con dispositivos Android.


